Monday, August 15, 2011

Breakfast Freezer Meals


Well, summer break is quickly ending which means I will be returning to work after a glorious nine weeks at home with my 2 year old.  The beginning of the school year is always a challenge from setting up the classroom, meetings, and just the all around balancing work and home life routine.  In 2009 when I was preparing to return to work from an extended summer break that included maternity leave, I had an idea to freeze several meals that would help make the transition easier.  I certainly did not have enough meals in the freezer for every night, but it at least covered some of the nights and gave me less to think about when I was adjusting to being a new working mom.  Planning my weekly dinners ahead of time helped as well and I still do this.  I may not “stick” to the exact plan, but I at least have an idea of 6 dinners for the week (we allow one night for eating out/carry out).  Since then, I have tried to “stock up” on home made frozen dinners when I can.

I am talking about making dinners but the title of this blog is BREAKFAST Freezer Meals.  Well, I thought, if I can do this for dinner, why not breakfast?  Derek loves sweet potato pancakes.  I had already been making large batches of mini pancakes and freezing them in small portions for him.  What about for Mommy and Daddy?  It’s challenging to make eggs before heading off to work so typically cereal, a bagel, or a protein bar (in my case) would be the breakfast option.  Now there are more options!

Whole-Grain Waffles

one batch of waffles and 3 batches of mix for the freezer

This recipe made a big batch of dry mix that can be frozen up to 6 months.  I froze it in 2 cup portions.  2 cups of dry mix plus a few wet ingredients makes about 5 waffles.  I made one batch of 5 waffles to freeze.  They can be popped into the toaster!  Add blueberries or whatever you like to the batch before cooking them up!

mix together:
4c whole wheat flour
2c all-purpose flour
1c toasted wheat germ
1c toasted oat bran
1 c buttermilk blend powder (found where powdered milk is)
3 tbs baking powder
2 tsp baking soda
1 tsp salt

This makes about 8 1/2 cups and can be frozen in a Ziplock bag up to 6 months. I froze it in 2+ cup portions with the instructions on the bag. (4 batches)

To make waffles (about 5/batch):
2 c of mix
2 eggs
1 cup water
2 tbs canola oil
2 tbs honey (**do not use honey of making for a child under 1 yr old)

Ham, Cheese, and Egg Burritos on Whole Wheat Tortillas

all wrapped up for the freezer!
(can be frozen up to one month)
You could add any breakfast meat or even veggies!

Sunday, July 31, 2011

Cook Once; Eat Twice


This summer I have been doing a lot of cooking.  I have tried out many new recipes in addition to my old favorites.  A lot of my cooking this summer has been from my Best Ever Greek cookbook.  I got this book for $3.99 at Marshalls.  What a great deal!  I have used it so many times already and have many more recipes to try.

The other night I made three things from this book. These recipes sound a lot more complicated than they actually are to make. The time it takes to wait for everything to marinate is what makes it so time consuming.

Chicken kabobs with yogurt sauce
  1. To make the sauce: 1 ¼ cups of Greek yogurt (I use Chobani); 2 crushed cloves of garlic; juice of ½ lemon; 1 tbsp of fresh herbs (oregano, dill, tarragon, or parsley; I used dill); salt and pepper.  Put in a large bowl and mix together.
  2. Cut chicken breasts into chunks about 1 ½ inches square. (recipe calls for 4 chicken breasts, I used 2 and still had leftovers).  Add to the yogurt mixture and toss well.  Cover and leave to marinate for 1 hour in the refrigerator. 
  3. Meanwhile, if you are using wooden skewers, make sure they soak for 30 minutes prior to use.  Or you can use flat, metal skewers.  You could even use rosemary sprigs.
  4. Preheat the broiler.  Thread the chicken onto the skewers (grease the skewers if using metal.)  Place kabobs on a greased broiler pan.
  5. Cook under the broiler for about 15 minutes, turning and basting with remaining marinade as needed.
  6. Pour the remaining marinate into a pan and heat gently but do not boil. (I found that there was not much leftover and I only used 2 chicken breasts!)
  7. Serving suggestion: on shredded lettuce on a bed of rice and garnished with lemon slices. (and yogurt sauce)

Zucchini slices

  1. Heat some olive oil in a pan.
  2. Slice baby zucchini into ¼ inch strips. (I used regular sized zucchini-that’s what I had)
  3. Coat the slices in flour and fry 5-10 minutes.
  4. When finished, season with salt and pepper.

Carrots a la grecque

  1. Cut one pound of carrots into fingers, the thickness of fries. (I used baby carrots, that’s what I had)
  2. Put in a large pan with 1 ¾ cups of dry white wine, 1 tbsp Greek honey (I used what I had), 2 sprigs of thyme, 6 sprigs of parsley, 1 bay leaf, 2 cloves of garlic, chopped; 1 tbsp crushed coriander seeds
  3. Bring to a boil, then simmer, uncovered, about 20 minutes, or until tender.
  4. Use a slotted spoon to transfer carrots to a serving dish.  Return cooking liquid to a boil and boil until it is reduced by half.
  5. Strain the liquid over the carrots and let cool.  Then chill in the refrigerator 3-4 hours.
  6. Serve at room temperature and garnish with fresh herbs.

There was plenty of leftover chicken so I used it to make another recipe that I found in Taste Of Home magazine (March 2011).  We had this for lunch with a side of pasta salad.

California Chicken Wraps
Spread hummus (I used garlic hummus) on a whole wheat tortilla, top with cubed chicken, chopped roasted red peppers, feta cheese, thinly sliced fresh basil.  Roll it up.
Putting it all together.

All rolled up with a side of pasta salad! Yum!

Monday, June 20, 2011

Eating Dinner As A Family


Growing up we always ate dinner at the table, without T.V., and as a family.  However, there was a period of time that my father worked two jobs so that my mom could continue to stay home with my sister and me.  I disliked those nights.  My mom would serve us and then she would watch us eat.  She would eat later with my dad.

When having one of many “how to raise our child” discussions, we both agreed that we want to eat dinner as a family.  In my house, my mom would always be the one to cook.  This was because she was a stay-at-home-mom.  In Bryan’s house, his parents would share the cooking.  Even though we both work full-time outside of the home, I do the majority of the cooking.  This is because I get home first.  Yet there are many times that we share the cooking responsibilities.  I may do the prep work so that Bryan can grill. While he does this, I set the table and prepare any other side dishes that aren’t being grilled that evening.

I know what you’re thinking…he’s only 2!  How does he sit that long?  Of course I don’t expect my 2 year old to sit at the table the entire time that dinner is happening, but he does sit down with us and eat until he is finished.  Then he is allowed to get up and play while we finish our dinner.  It is unrealistic to think that a 2 year old has that kind of attention span, but it is important to us that he begin the habit of sitting at the table as a member of the family.  Does he always eat?  No.  Sometimes he eats a little bit, sometimes second and third helpings, other times, he just doesn’t eat at all.

Tonight’s meal:
Mommy: prepared salad, shucked the corn, set the table
Daddy: grilled the chicken, cooked the corn on the grill burner
Derek: played trucks


We worked together and we all sat down to eat together.  What did Derek eat? Feta cheese, green olives, and milk.  We are still working on actually eating dinner every night.

More information on the importance of eating as a family:

http://www.mealsmatter.org/Articles-And-Resources/Healthy-Living-Articles/Family-Meals.aspx

Sunday, May 8, 2011

Another Mother's Day Project


A few months ago my mom and I were shopping at one of my favorite stores: TJ Maxx/Homegoods.  I saw a cute sign that said “Artist In Training” with clips on it for your child's artwork.  I decided that I wasn’t going to pay $12 for it and that I could make it myself!  With the many art projects that Derek has been making, I thought this would be a good way to display some of his artwork and it would also be easy to change the pictures out.   

Who else might like one of these?  MY SISTER!!!  My nieces LOVE to paint and to art projects as well.  Naturally, I procrastinated and didn’t begin my project until the Friday before Mother’s Day!

Materials:
A 3’ piece of a 1” x 4”
Sandpaper
Primer
Paint for the background
Paints for the designs
Different brushes
Clothespins
Wood glue
Hooks (which I forgot)

Steps:
First, I sanded and primed the wood.

Next, I painted it a color that I already had on hand.  I used Blue Reflection which is the color of Derek’s room.

Then, I measured the distance between where the clothespins would be going, marking it with a pencil, and I painted designs onto the wood.

Finally, I used wood glue to secure the clothespins to the board.
The finished product.  The one on the top was for my sister and the one on the bottom is mine!

A closer look

As a direct result of my procrastination, I forgot about getting the hooks so that it could be hung on the wall.  But I did manage to make one for myself as well J

Happy Mother’s Day, Aunt Momma! (that is what Derek calls my sister)

Wednesday, May 4, 2011

Mother's Day Project by Derek


I was trying to come up with something that Derek could create for Mother’s Day.  For gifts in the past, he has created ornaments, picture frames, magnets, and of course cards.  One of my project books included ways to keep your child’s artwork.  Children create so many things in their lifetime it is challenging to keep everything and it is heartbreaking to throw it away. 

I decided to use one of the ideas to create an art book for each of his grandmothers for Mother’s Day.  I simply stapled together four, gallon sized Ziploc bags.  Inside each bag I placed a piece of his artwork.  On the back of each piece, I included a picture of him creating it, the date, and what materials he used.  Each grandmother will get 3 pieces of artwork that he created himself all using a different medium.  I know that they will appreciate this wonderful gift from their grandson!
Cover

inside cover


Tuesday, April 26, 2011

Earth Day and Easter: Dying Eggs the Natural Way


Last year, Derek was too young to participate in the dying of Easter eggs.  This year, being less than a month from his second birthday, he had his first experience with Easter egg dying.  Although I know he doesn’t understand the true meaning of Easter, or anything about the tradition of dying eggs and egg hunting, it was still a fun activity to do with him.

Since Easter was late this year and near Earth Day, I was looking for a way to dye eggs using natural ingredients instead of using the dye packs that you buy in the store.  I found this website that gave me a lot of ingredient options to create the colors I wanted for the eggs.


I chose to make orange (carrots did not work for me, I used paprika), yellow (green tea-I used 4 bags and a cup of water), green (spinach), and purple (a can of beets).  I wanted to make blue, but it was hard to track down canned blueberries and the grape juice did not work for blue.  Four colors was really enough for an almost 2 year old anyway!


The eggs turned out pale. That was because Derek didn’t want to leave them in the dye very long! 

Monday, March 14, 2011

Celebrating Derek's Heritage Part 2: Maternal Side

Tonight we celebrated Derek’s maternal side with some German food.  Recently, I have learned more about my father’s side of the family.  I knew that my great grandparents (my grandad’s parents) were originally from Germany.  A copy of their marriage certificate, in German (translated into English), has surfaced and a scanned copy has been e-mailed around the family.  I can’t wait to find out any other information my second cousins discover!

On to dinner…

I have had a slow cooker recipe for sauerbraten in my file for years.  I like slow cooker recipes that have few ingredients and are cooked for 8 or more hours (so I can safely leave them while I am at work without risk of burning).

While this requires few ingredients, there is some prep work.  First, the beef has to be marinated for 24-48 hours.  So finding room in the refrigerator was a challenge.  With two full size refrigerators you’d think it’d be an easy task…but I had to move around quite a few things to fit the large bowl in there.


After about 36 hours, my roast was ready for the slow cooker.  Bryan was wonderful and turned on the slow cooker when he left for work.  When I arrived home, 9 ½ hours later, it smelled wonderful and the meat was ready!

The next step was to prepare the gravy.  After removing the roast from the slow cooker and placing it onto a cutting board, I added crushed ginger snaps to the slow cooker and turned it up to high.  Fifteen minutes later, the gravy was ready!

Sauerbraten was served with egg noodles and red cabbage. (and some veggies, of course)


For dessert, we had apple crisp over ice cream.


My next adventure in celebrating my heritage will be to attempt to make a yummy breakfast that my mom mom used to make whenever she would stay at our house.  I can’t tell you the name, not because it’s a secret, but because I think it was made up and I can’t spell it!  Here…I will try, I will spell it phonetically:  woofinpoofins.

Wednesday, February 23, 2011

Cooking Frenzy: Vegetarian


As you know I love to cook.  Most importantly, I love to cook ahead of time and freeze meals.  This helps me to plan my menu a month in advance and it allows me to spend more time with my family when I get home from work without having to compromise nutrition by serving pre-packaged meals or stopping for carry out on the way home.  My family enjoys home cooked meals at least 6 nights a week.  (We allow for one take out/carry out night, usually on Friday.)

Bryan has been staying with his parents to help take care of his father.  My job has been to be the “Meals on Wheels” for them.  This allows Bryan time to spend with his parents without having to spend a lot of time preparing food for them.  It’s already done.  

Bryan’s uncle and cousin will be visiting from Australia for a while.  They are vegetarian.  My new challenge is to cook vegetarian meals that can be frozen and easily cooked or reheated. 

I began the challenge by contacting friends who might have some good vegetarian recipes.  Then I took a trip to the bookstore and bought two vegetarian cookbooks.  I also searched the internet for more ideas.  What I found, vegetarian cooking seems to be more complicated than other cooking!  The recipes themselves involve more work and I was unable to find zucchini, which was in the majority of the recipes I found that were simply and quick.

Here are the things I have made thus far.

Spinach Stuffed Shells (my own recipe)
1 box of Jumbo Shells
ricotta cheese (I buy the big one and keep what I don’t use for next time)
parmesan cheese (I use the Kraft brand)
1 bag of shredded mozzarella cheese
1 28 oz jar of pasta sauce (or your own homemade sauce)
box of frozen spinach, thawed, and rung out

  1. Cook the pasta according to package directions.
  2. Ring out the spinach with a clean dish towel to get out all of the water.
  3. Mix ricotta, some mozzarella cheese, some parmesan cheese, spinach, and a little pasta sauce (just enough to turn it pink), in a bowl.  This is the filling.
  4. When shells are finished being cooked, drain them, let cool a little, then fill them with the mixture and place them into an aluminum pan.
  5. When pan is full, cover with sauce and shredded cheese.
  6. If cooking frozen, try to thaw them out the night before or they can go directly into the oven.  350 for 1-1 ½ hours. (uncovered)
  7. If cooking right away, 350 for about 30 minutes.

**For the three of us, I make a square pan and it fits 12-15 shells.


Carrot and Ginger Soup 
From the book Vegetarian Cooking: A Commonsense Guide

1 tablespoon of olive oil
1 onion, chopped
1 tablespoon of fresh grated ginger
3 cups of vegetable stock
2 lbs. 4 oz. Carrots, chopped
2 tablespoons chopped cilantro

  1. Heat oil in a large saucepan, saute onion and ginger over medium heat for 5 minutes or until onion is soft.
  2. Add stock and carrot.  Bring to a boil, then reduce heat and simmer 10-15 minutes or until carrot is tender (this took me about 30 minutes)
  3. Process the soup in batches in a blender or food processor (I used the Magic Bullet).  Return to the saucepan and add a little more stock or water to thin it to your preferred consistency.
  4. Add salt and pepper to taste.  Stir in chopped cilantro and serve.


Addictive Sweet Potato Burritos

2 teaspoons vegetable oil
5/8 onion, chopped
2-3/4 cloves garlic, minced
4 cups canned kidney beans, drained
1-1/3 cups water
2 tablespoons chili powder
1-1/4 teaspoons ground cumin
2-3/4 teaspoons prepared mustard
5/8 pinch cayenne pepper, or to taste
2 tablespoons soy sauce
2-2/3 cups cooked and mashed sweet potatoes
8 (10 inch) flour tortillas, warmed
5 ounces shredded Cheddar cheese

  1. Preheat oven to 350 degrees
  2. Heat oil in a medium skillet, and saute onion and garlic until soft. Stir in beans, and mash. Gradually stir in water, and heat until warm. Remove from heat, and stir in the chili powder, cumin, mustard, cayenne pepper and soy sauce.
  3. Divide bean mixture and mashed sweet potatoes evenly between the warm flour tortillas. Top with cheese. Fold up tortillas burrito style, and place on a baking sheet.
  4. Bake for 12 minutes in the preheated oven, and serve.

**I found that I had a lot of leftover bean mixture.  Maybe I didn’t stuff them as full but it seemed that if I put even more in the tortillas then they would definitely be too difficult to fold!  So I think it would be easy to make more than 8 burritos with this recipe.


Nondairy Chocolate Pudding
From the book Double Delicious! By Jessica Seinfeld

8 oz. Silken tofu
1 cup light soy milk
1 packet unflavored gelatin (such as Knox brand)
4 oz. Semisweet chocolate chips
2 tablespoons of honey

  1. Place tofu in the food processor and mix until smooth and creamy.
  2. Bring soy milk to a boil in saucepan.  Whisk in gelatin.
  3. In a medium bowl, pour the hot soy milk over the chocolate chips.  Whisk to blend.  Add the honey and whisk again.
  4. Pour the tofu into the chocolate mixture and whisk until blended together.
  5. Pour into a clean serving bowl and chill for 2 hours.


Bell Peppers Stuffed with Rice, Spinach, and Sun-Dried Tomatoes
From the book One-Dish Vegetarian Meals by Robin Robertson

4 large bell peppers, any color
½ cup sun-dried tomatoes packed in olive oil
1 tablespoon extra virgin olive oil
1 large bunch spinach, washed, trimmed, and coarsely chopped
1 garlic clove, minced
3-4 cups of cooked rice (I used brown)

  1. Preheat oven to 350
  2. Slice off the tops of the peppers and remove the seeds and membranes.  Plunge peppers into a pot of boiling water and cook for 2-3 minutes or until slightly softened.  Remove and set aside, cut side down, to drain.  Chop tomatoes and set aside.
  3. Heat oil in large skillet over medium heat.  Add spinach, garlic, and tomatoes and cook until spinach is wilted, 2-3 minutes.  Add rice and stir to combine.  Fill peppers with rice mixture and place upright in a baking dish.  Add a few tablespoons of water the to baking dish, cover and bake until filling is hot and peppers are tender.  30-40 minutes.

**I made a double recipe and had leftover stuffing.  The stuffing was super on it’s own for dinner.  


Thursday, January 27, 2011

Celebrating Derek's Heritage Part 1: Paternal Side


Yesterday, January 26, was Australia Day.  This is an important day that we celebrate every year because Bryan is half Australian.  His father (Derek’s Grandpa) was born and raised in Australia and Bryan still has family there.  Below is a link to more information on Australia Day.


Our original plan for dinner was to call Outback and order dinner.  Bryan would pick it up on the way home.  But, I was surprised with a snow day and schools were closed so I was able to stay home and plan a homemade dinner menu.  This meal was prepared together.  It was a fun experience to prepare our pieces of the meal in the kitchen while Derek played with his pots and pans.  It has been a long time since we have been able to do that.

Earlier in the day, I made Anzac Biscuits.  However, we decided to use chocolate chips and it made them very chocolatey.  I guess it’s a tradition with a twist.


I also made cheese scones.  They were so easy to make!


We began with a Bloomin Onion  (Outback recipe) that Bryan made.


Next, we had our meal.  Bryan grilled steak and Shrimp on the Barbie (Outback recipe).  I made pureed carrots with ginger.


Since dinner was prepared later than our normal dinnertime, Derek had already eaten.  However, he wanted to sit with us so we gave him a plate with a shrimp, a spoonful of carrots, and a piece of scone.  He did not eat any of it.  I was not surprised because these are not things he generally prefers to eat.  He also did not like the Anzac Biscuit. 

Unfortunately, we did not get to celebrate with Derek’s Grandpa this year, but he was in our thoughts as we ate our meal.  We sent some Anzac Biscuits over to their house today.  It was great to celebrate Derek’s heritage on his paternal side of the family.  Within the next few weeks we plan to explore his maternal side of the family with a German meal.


Tuesday, January 18, 2011

Cooking Frenzy!!!


I went back on my crazy cooking spree again today!  It’s been a long time since we have had normalcy in our home (since before Christmas) so it was important to me to get some meals in the freezer for when Bryan returns home permanently and we have family dinners again.  I use disposable pans to make my meals and cover them with foil.  Then I put them into freezer bags that are labeled with the meal, the date it was made, and how long I have to use it.  These meals get put into the rotation when I create my monthly schedule.  In addition to prepared meals, I have packs of chicken and other meats in the freezer that can be made into something else.  This time around I did not marinate my chicken before freezing it. 

I made a total of 13 meals and one dessert in about 4 hours.  It is not difficult to do, it just takes planning and self-discipline.  One of my priorities is to have home cooked, meals for my family.  This is one of my ways of making sure that happens.

This is what I did:
I started with planning what I wanted to make.  I tallied up how many onions, how many cans of soup, how many pounds of meat etc. that I would need.  Then I checked my pantry, refrigerator, and freezer to see what I already had. Next stop, Costco.  After getting what I could from there, mostly the meat, I headed to the grocery store to finish filling my order.  This included getting any foil pans that I might need.

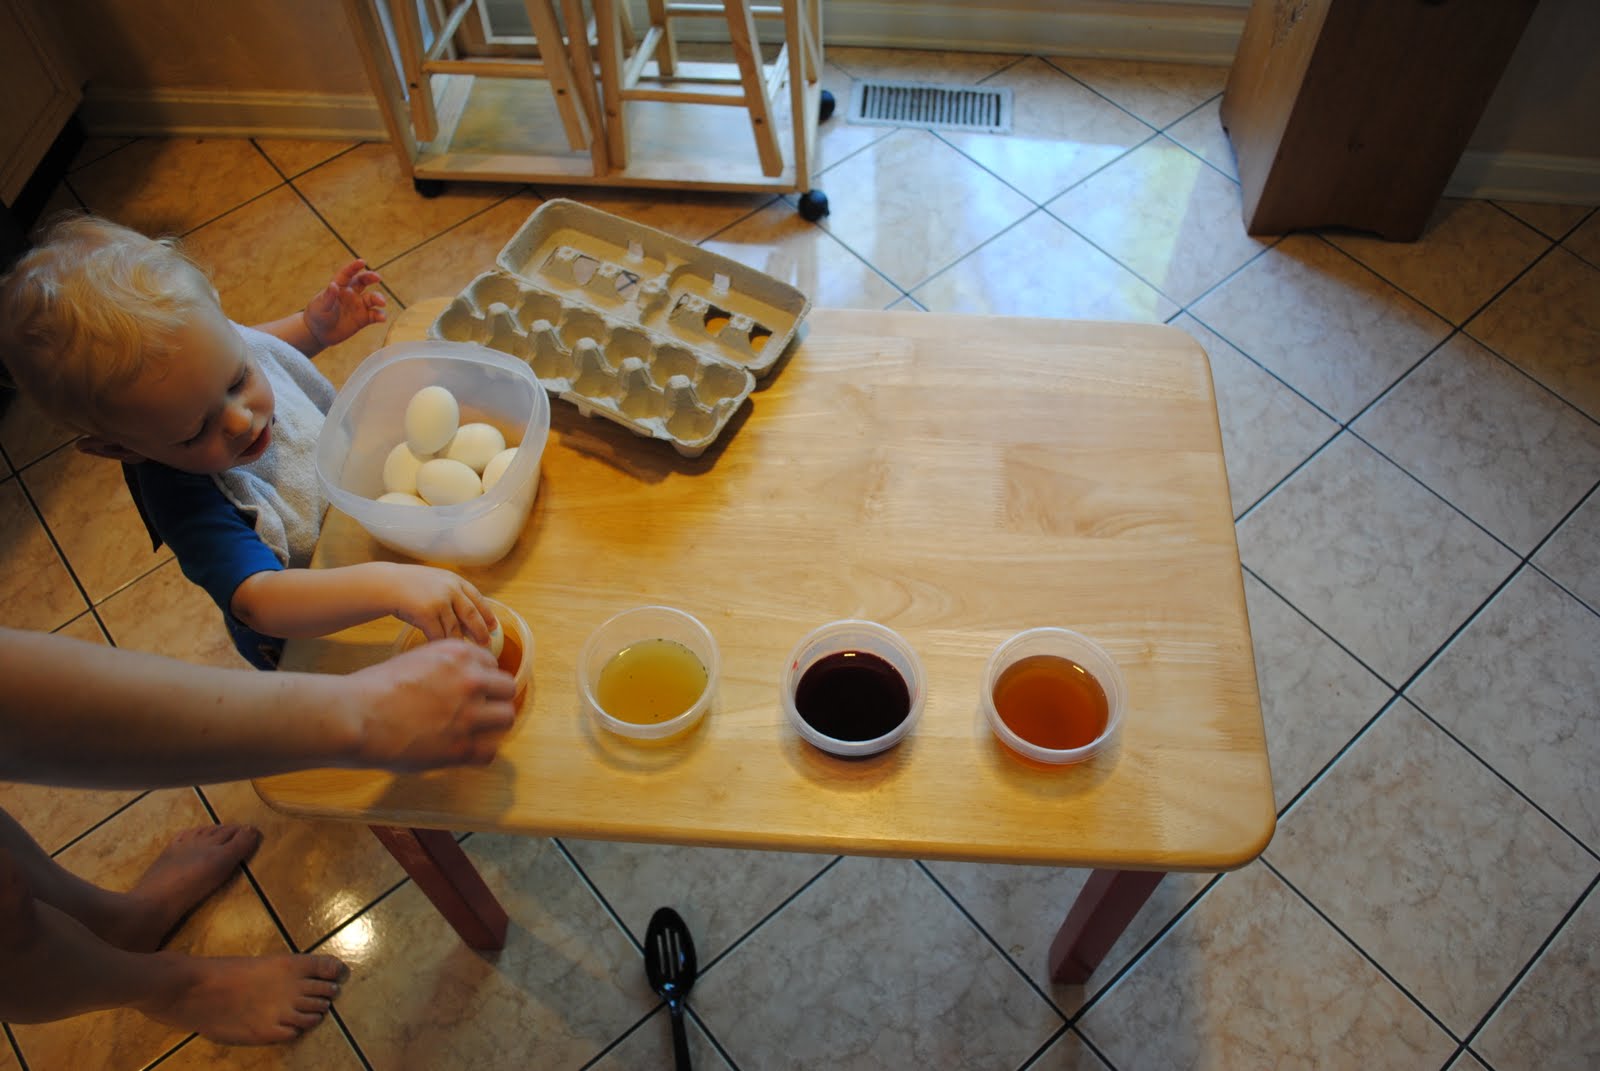
On cooking day, I gathered my recipes and all of my ingredients.

Then I began my cooking!  This is the order in which I prepared the meals:

Spaghetti Pie

1 package of spaghetti (a pound)
4 eggs, lightly beaten
2/3 cups grated Parmesan cheese
1 cup chopped onion
¼ cup butter, cubed
2 cups sour cream
2 tsp. Italian seasoning
2 lbs. Ground meat (beef, chicken, turkey, sausage)
2 cups water
1 can (12 oz.) tomato paste
1 cup shredded mozzarella cheese
½ cup shredded cheddar cheese

  1. Cook spaghetti, drain and place in a large bowl.  Add eggs and Parmesan cheese.  Transfer to 3, greased, 9-in. pie plates.  Press onto the bottom and up the sides to form a crust.  Set aside.
  2. Saute onion in butter until tender.  Remove from heat and sir in sour cream and Italian seasoning.  Spoon into the crusts.
  3. Cook meat over medium heat until no longer pink, drain.  Stir in water and tomato paste.  Simmer, uncovered, 5-10 minutes or until thickened.  Spoon over sour cream mixture.  Sprinkle with the 2 cheeses.  (I did not measure the cheese, I used more J )
  4. Cover and freeze for up to 1 month. 
  5. To use frozen pies: completely thaw in the refrigerato.  Remove from refrigerator 30 minutes before baking.  Bake, covered, on 350 for 35-40 minutes or until heated through.

**I found that I had extra meat mixture so I reserved it for my next recipe.

Pizza Pasta Casserole

2 pounds of ground beef (you could use turkey or chicken)
1 large onion, chopped
2 jars (28 oz. Each) spaghetti sauce (*I found this was too much sauce)
1 package spiral pasta, cooked and drained
4 cups shredded mozzarella cheese
8 ounces of sliced pepperoni

  1. Cook beef and onion over medium heat until meat is no longer pink, drain.  Stir in spaghetti sauce and pasta. (*I eyeballed the sauce so it wasn’t too much.  I also added in the extra meat from the first recipe.)
  2. Transfer into 2 greased 13x9 inch baking dishes.  Sprinkle with cheese and arrange pepperoni over the top.  Cover and freeze for up to 3 months.
  3. To use frozen casserole: Thaw in the refrigerator overnight.  Bake, uncovered, on 350 for 35-40 minutes or until heated through.

**I halved this recipe and then divided the ½ into 2 8-in. square pans.  That is a better sized portion for my family.

Enchilada Casserole

1 ½ lbs ground beef (you could use turkey or chicken)
1 large onion, chopped
1 cup of water
2-3 Tbls chili powder
1 ½ tsp salt
½ tsp pepper
¼ tsp garlic powder
2 cups of salsa, divided (I found that it takes more salsa than this)
10 flour tortillas (8 in.) cut into ¾ in. strips
1 cup sour cream
2 cans (15 ¼ oz each) whole kernel corn, drained
4 cups shredded mozzarella

  1. Cook beef and onion over medium heat until beef is no longer pink.  Drain, stir in water, chili power, salt, pepper, and garlic powder.  Bring to a boil, reduce heat, simmer, uncovered for 10 minutes.
  2. Place ¼ cup (I used more) salsa in 2 greased 8-in. square baking dishes.  Layer each dish with tortilla strips and more salsa.
  3. Divide the meat mixture, sour cream, and corn between the 2 casseroles.  Top with remaining tortillas, salsa, and cheese.
  4. Cover and freeze for up to one month.
  5. To use frozen casserole: Thaw in refrigerator for up to 24 hrs. Remove from refrigerator 30 minutes before baking.  Bake, covered, on 350 for 35 minutes.  Uncover and back for 5-10 minutes longer or until heated through.

Chicken and Stuffing Casserole

4 cups of cooked chicken, cubed
1 cup of chopped celery
1 Tbls. chopped onion
4 Tbls. Parsley
2 cans of cream of chicken or cream of celery soup
1 can of milk
½ cup melted butter
4 cups of herb stuffing mix

Combine all ingredients, put in an aluminum lasagna pan and back 20 minutes at 400.

**I divided the recipe into 2 8-in. pans to make 2 meals.

Chicken Green Chili

1 quart of chicken broth
1 ¼ pounds of skinless, boneless chicken breasts
4 large handfuls of tortilla chips, plus more for serving
2 Tbls. Oil
about 1 cup of scallions
2 tsp dried oregano
2 tsp ground cumin
1 15 oz can of red beans, drained
1 cup of jarred green salsa

  1. In a deep skillet, bring chicken broth and chicken breasts to a simmer over medium heat.  Reduce the heat and poach the chicken, turning occasionally, until just cooked through, about 10 minutes.  Transfer to a plate using a slotted spoon.
  2. Crumble handfuls of tortilla chips into a food processor and add 3 cups of hot broth; let them sit to soften.  Reserve the remaining broth.
  3. In a large saucepan, heat the oil over medium heat and add the scallions, oregano, and cumin.  Cook until scallions are soft, about 2 minutes.  Pour the remaining cup of broth into the scallion mixture, then stir in the beans and salsa.
  4. Puree the chips and broth until smooth then whisk into the bean mixture.  Shred the chicken and add it to the chili.  Cook over medium-low heat, stirring, until heated through.
  5. I divided this in half into 2 containers to freeze for later use.
  6. To use frozen chili: Thaw in the refrigerator then heat in a saucepan.
  7. Serve with extra tortilla chips, cheese, sour cream…whatever your favorite toppings are!

Meatloaf

1 ½ lbs. Ground beef (you could use turkey or chicken, but it doesn’t turn out as well)
½ cup breadcrumbs
½ cup carrot puree
2 Tbls. Olive oil
2 stalks of celery, chopped
½ onion
2 Tbls. Worcestershire sauce
2 Tbls. ketchup
1/3 cup milk

  1. Heat olive oil and saute onion and celery.
  2. Meanwhile, mix other ingredients in a large bowl.
  3. Add the celery and onion mixture and combine well.
  4. Divide into 2 loaf pans.
  5. Bake for 30 minutes on 350. Remove and drain.
  6. Cool, cover and freeze.
  7. To use frozen meatloaf: Thaw in refrigerator overnight.  Bake, uncovered, on 350, 30-45 minutes or until cooked all the way through.

Ice Cream Cake

1 box of 12 ice cream sandwiches, any variety (you will use 11 sandwiches)
1 container of Cool Whip
candy topping of your choice (or crushed cookies, or sliced fruit)

  1. I used an 8-in. square pan, put one layer of ice cream sandwiches down. (*the size of the cake varies depending on the size of your ice cream sandwiches)
  2. Spread with Cool Whip, sprinkle on topping of your choice.
  3. Layer the rest of the sandwiches.
  4. Top with Cool Whip, sprinkle on more topping.
  5. Cover with plastic wrap, then foil.
  6. Freeze

**be creative!  Examples: Oreo sandwiches with crushed Oreos.  The one shown here is made from Neapolitan sandwiches (vanilla, strawberry, and banana ice cream) and I used chocolate chips.  I thought about adding sliced strawberries or bananas to this one.


Give credit where credit is due:
Recipes for: Spaghetti Pie, Enchilada Casserole, and Pizza Pasta Casserole were from Taste of Home Fall Freezer Meals, Oct. 27, 2010

Chicken and Stuffing is from my friend Mindy

Chicken Green Chili is from Everyday with Rachel Ray magazine

Meatloaf is a combination of my mom’s recipe and Jessica Seinfeld’s from Deceptively Delicious

Ice Cream Cake is from my friend Heather

**Healthy Eater Tip: Use whole-wheat pasta and reduced fat sour cream and cheese as well as reduced sodium soups and broths when preparing the meals to make them more healthful.